About Worm Farming and Maze Worm Farms
Almost half of the waste that families throw away is compostable and can be used as organic garden fertilizer. When we dispose of organic waste by throwing it in the rubbish bin, it ends up in a landfill instead. Organic waste at a landfill rapidly breaks down and releases potent methane gas, a greenhouse gas, which contributes to global warming.
Worm Farming, also called Vermicomposting is one way to recycle organic kitchen waste and turn food scraps into an organic garden fertilizer.
Unlike the traditional composting that is done by placing organic waste into a compost bin or a compost pile, worm farming uses earthworms to beak down household organic waste and turn it into compost.
What is a Worm Farm
A home worm farm is in essence a worm composting system. It uses different types of earthworms to decompose organic waste and turn it into Vermicompost.
Worms are miracles of nature. The cylindrical body of the worm is brimming with bacteria and enzymes. The end product produced by worms breaking down and expelling organic matter, is called Vermicast. Worm casting can then be used as an organic fertilizer to improve garden soil.
The Benefits of a Worm Farm
- Worm farms are quite easy to set up and maintain. Some worm farms take little space and are small enough to be placed indoor on a balcony or in a small courtyard.
- The process of producing compost with a worm farm is fairly fast compared to a conventional compost bin. Earthworms placed in an average worm farm can dispose of up to 4kg or kitchen waste per week.
- Setting up a worm farm and maintaining it, can be a fan and educational way to teach children about the wonders of the natural world and foster caring about the environment.
- Worm castings improves aeration of garden soil.
- Worm castings enriches garden soil with micro-organisms that are important for plant growth.
- Worm castings improves garden soil water holding capacity.
- Like other composting solutions, worm farms reduce waste flow to landfills.
What Can You Compost in a Home Worm Farm
Worms will eat almost any kind of organic matter.
Here is a list of typical household waste items that can be placed in a worm farm:
- Leftover vegetables, peelings, and fruit
- Newspaper
- Cardboard (such as old boxes or egg cartons)
- Hair clippings
- Vacuum cleaner dust
- Tea leaves
- Coffee grounds
- Crushed eggshells
Avoid adding these items in your worm farm:
- Onion
- Garlic
- Chilli
- Dairy
- Uncooked potato skins
- Citrus fruit or peel
- Meat, bones or fish
- Oils or grease
- Garden waste of plants that were treated with pesticides
- Poisonous plants e.g. Poison Ivy.
Earthworms are delicate living creatures that can be badly affected by the growing environment provided. Some acidic food scraps can harm them and other are not easy for worms to eat. Some of these items can still be composted, but using a Bokashi bin is more suitable in this case.
One of the tricks to worm farming is to remember that variety matters. If you offer a wide array of materials for your worms to feed upon then they will create nutrient-rich castings. Also, whenever you give food to your worms, sprinkle a handful of soil from your garden on the food because the worms need the grit from the soil to effectively grind up and digest the food waste.
Some Home Worm Farming Tips
- It’s important to place a worm farm in shaded area to keep worms cool. Worms, being delicate living creatures, do not tolerate high temperature and will do better in cool and moist habitat.
- While all earthworms digest organic matter into worm castings, some worm are more suitable for worm farms. Some species usually used for composting includes: Red Wriggler and Tigers worms. We supply live compost worms that can be added to your farm to get you started.
- To speed up the composting process, it helps to break down kitchen waste into small pieces or crush it. Scraps will start decomposing faster and the worms will start eating it sooner.
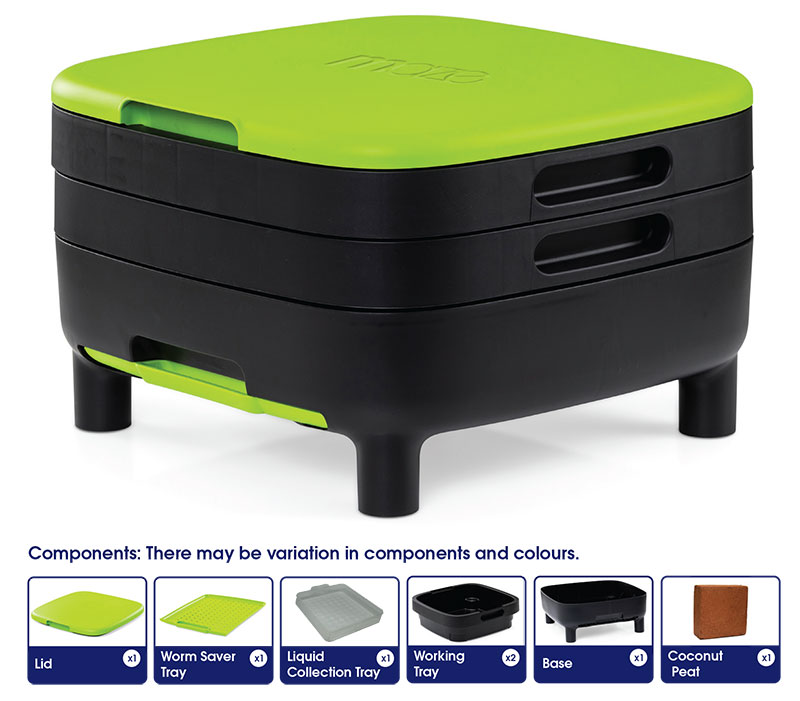
Maze Worm Farm
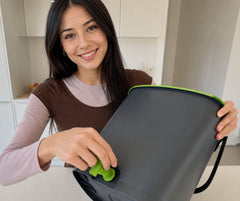
The Maze Worm Farm compact design means that you don’t need a great deal of space and can get started on composting even if you live in a small apartment. This Worm Farm weighs only 7 kgs when filled with worms.
The Maze worm farm stylish and customizable compact design, means it will easily fit in any area of your home. Place it on your balcony, in your garden, or on a deck. This trendy and stylish farm is made from recycled materials. It is built with two working trays, and you can rotate them to add more trays if needed. The rotating trays design helps to create greater volume which is needed as worms start their migration upwards to the top tray.
The weight of the worms and their castings then pushes the tray down to further compact the casting material in the lower tray and then the slow to climb worms will also start to migrate up creating optimum aeration throughout.
See the Maze Worm Farm on our shop
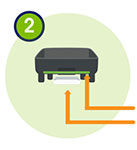
Setting Up the Worm Farm
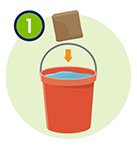
bucket of water for 15-30
minutes. This will become
the bedding for your worms.
legs if you have them (may
be sold separately).
Ensure worm saver tray
& liquid collection tray
are in place.

place and line with 2-3
sheets of wet newspaper
(not supplied). The second
working tray won’t be
needed until the first is full,
so keep in a safe place.
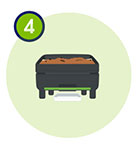
the layer of wet newspaper,
this becomes the bedding
for your worms. Make sure
it’s not too wet or too dry.
The bedding should feel
moist with minimal water
dripping out when you
squeeze it.
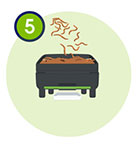
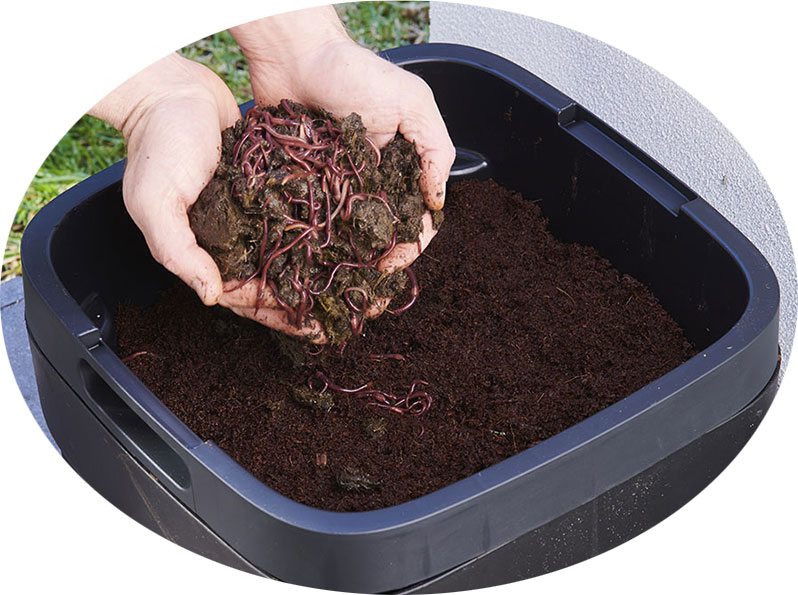
(may be sold separately). Place
them on top of the coconut
peat with any bedding that
came with them. Leave the
worms a week before adding
any food scraps. This allows the
worms time to settle into their
new home.

with a worm blanket (not
supplied). The worm blanket can
be any fabric made from
natural, non-synthetics such as
hessian. Several sheets of
newspaper or cardboard can
also be used.
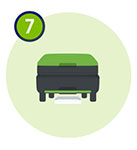
and put it in a cool dry area
away from the sun and rain.
 Using Your 2nd Working Tray
you can then add your second.
When two working trays are
being used the worms will travel
through the holes in the bottom
to find new food scraps. When
the second tray is full the first will
be full of casting to use on your
plants.
Feeding Your Worms
- After a week you can start to add a small amount of food scraps, about a handful every
few days. Gradually increase this as you notice the worms eating more. Once it’s
established and the worms are breeding, they will consume more food scraps. Be careful
not to overfeed them. Uneaten food will begin to smell and attract unwanted pests. - When adding food scraps it’s important not to spread it out covering the entire area.
Start in a section and when you add new scraps put them in a different section working
your way around the farm. - It’s a good idea to cover any new food scraps added with their bedding that is already in
the worm farm or some compost from your compost bin. - Cut food into small pieces. This will make it easier for the worms to eat.
- To keep your worms happy make sure you are giving them some diversity with their food.
- Worms will change with the season, you may need to feed them more in the warmer
months and less in the cooler months.

Adding your second working tray
- It’s time to add your second working tray once the first is full.
Make sure the second tray comes in contact with the
bedding in the first allowing the worms to travel freely into it. - You can add food scraps directly into the second working
tray but it will speed up the process by adding a small
mount of organic soil, compost or existing bedding first. - Stop feeding your worms for a week before adding the
second working tray to make the worms nice and hungry.
This will entice them to go into the second tray once
Harvesting
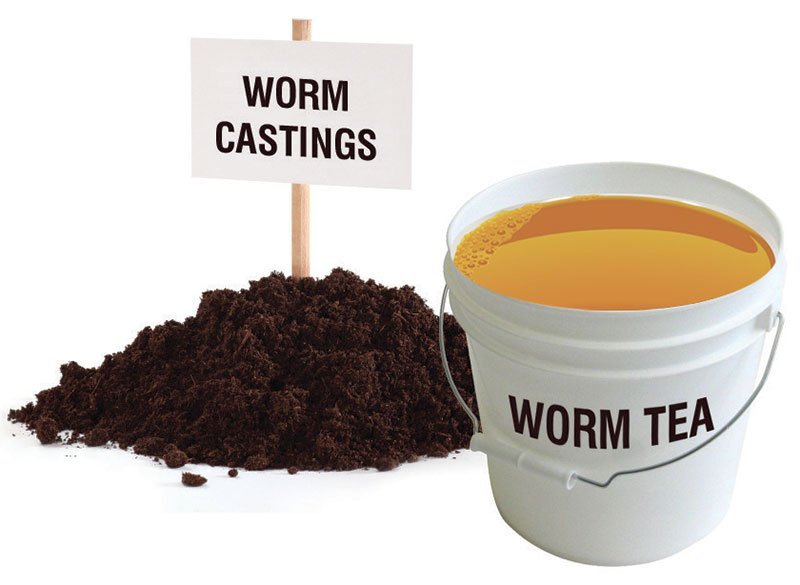
You will get 2 types of fertiliser from your worm farm, Worm tea & Castings.
Worm tea
This accumulates in the liquid collection tray at the
bottom of your worm farm. This worm farm is
designed to be free draining. This eliminates the
risk of the liquid building up and potentially
drowning your worms. It can be diluted 1 part
liquid to 9 parts water. It should look like a weak
tea.
Castings
You will find some casting on the pull out worm
saver tray. But the bulk of this will be found on the
bottom working tray. When the second tray is full
the first will be full of casting to use on your plants.

Worm farm maintenance
- Every week or so it’s a good idea to flush your worm fam with half a bucket of water.
This ensures the entire farm stays moist. When doing this make sure to replace the liquid
collection tray with a vessel that will hold the sudden influx of water. - A healthy worm farm should smell earthy. If your worm farm smells rotten and vinegary,
then acidity may be too high. This can be fixed by gently aerating the worm farm,
and or adding some crushed egg shells (it’s a good idea to dry them out first), dolomite
lime or garden lime (a dusting over the top is a sufficient amount). - It’s important to protect your worms in extreme weather conditions. To protect against
heat make sure that they are in a shady part of the garden. Be sure to keep your worm
farm moist. You may need to flush it with water every day or so. In extreme cold climates
make sure the worm farm is out of the rain and a thick worm blanket is being used.
You could also add additional bedding of compost and worm castings.
Maze Worm Farm Reviews
Hungry Bin Worm Farm
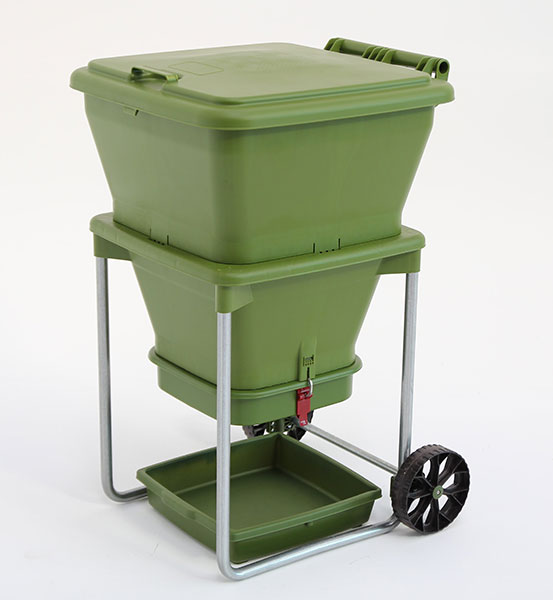
The hungry bin is a continuous flow system. When operated correctly, continuous flow systems are far more efficient than worm farms that use stacked trays. The unique shape of the bin creates a large surface area allowing all the worms living in the hungry bin to easily access the food scraps at the top – exploiting the fact they’re surface feeders, and increasing their processing capacity. The tapered sides also encourage the worms to stay on the surface, while compressing their castings below.
Once the compost process is complete, the hungry bin is designed to allow the simple and easy harvest of both finished castings and liquid fertiliser. Harvesting castings does not involve any heavy, messy lifting. The floor of the bin is easily removed, allowing approximately 4 litres (3/4 gallons) of castings to break away at the bottom of the taper. This allows the easy removal of finished castings from the bin. Removing the castings is a relatively clean process. Finished castings are largely free of worms.
The lid is at a comfortable operating height, and convenient to open and close. Tight fitting, it prevents pests from entering but has sufficient venting to create healthy airflow. The hungry bin even has wheels, making moving the bin light work.
See the Hungry Bin Worm Farm on our shop
Hungry Bin Worm Farm Review
Hungry Bin Instructions
![]()
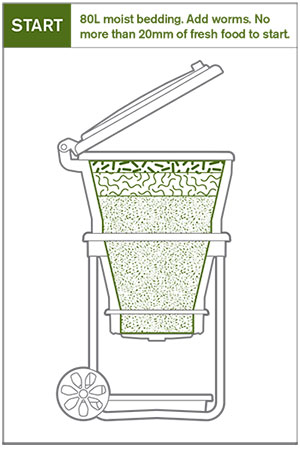
bedding material (80L of compost, free
draining soil). Moisten with water and add
at least 2000 worms. Add 20mm of fresh
food and cover with a sheet of newspaper or
cardboard. Place your hungry bin in a sheltered
shady spot — out of the sun if possible.

food as fast as it is being eaten. There may only
be minimal worm activity. Add more food only
when half the food has been eaten. You may
notice the food becoming mouldy, or other insects present in the top of the bin.
WEEK 4-8: Feed every few days, but don’t add
food until half the previous layer of food has been eaten. It is important that the worms eat the food
before it becomes rotten and smelly. Sprinkle with
water if the bin is becoming dry, or liquid is not
draining from the bin.
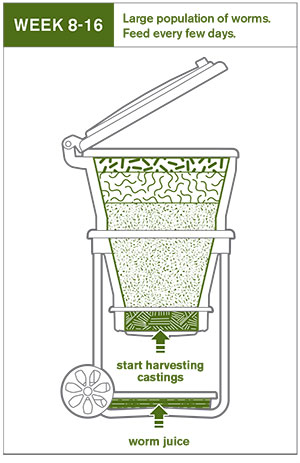
the uneaten food is no more than 50mm deep. Worms should have doubled in population by
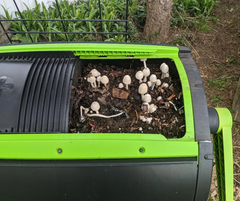
now, there will be a noticeable increase in activity. You see worm castings (fine dark looking soil)
accumulating around the food.

worms should have formed a large active layer immediately below the food. The hungry bin
should reach optimum performance and maximum population – over 10,000 worms! Take care to
ensure the food is not rotting before the worms
have a chance to eat it. If needed add fibre
to help balance the farm, (shredded paper,
cardboard, dry leaves or dried lawn clippings)
to help keep your hungry bin smelling sweet.
References:
https://en.wikipedia.org/wiki/Vermicompost
https://deepgreenpermaculture.com/diy-instructions/worm-farming/